Adventures in Canning

As I write this blog, the world is gripped by the coronavirus pandemic. Schools, restaurants and businesses are closed and all of us, if not ordered to shelter at home, are supposed to be maintaining social distance and washing our hands frequently and thoroughly. What has transpired in the grocery stores is shocking. Most stores are unable to keep basics in stock such as chicken, eggs, ground beef, canned goods, toilet paper, disinfecting wipes and hand sanitizer. It’s really been quite appalling. I was at my local Costco last week. They had not a single poultry item in the meat section, so I decided to get a rotisserie chicken. An over anxious shopper nearly snatched one out of my hand in order to grab up the exact chicken I was planning to purchase. It makes no sense since other than people needlessly hoarding, we are not having a shortage of food or supplies.
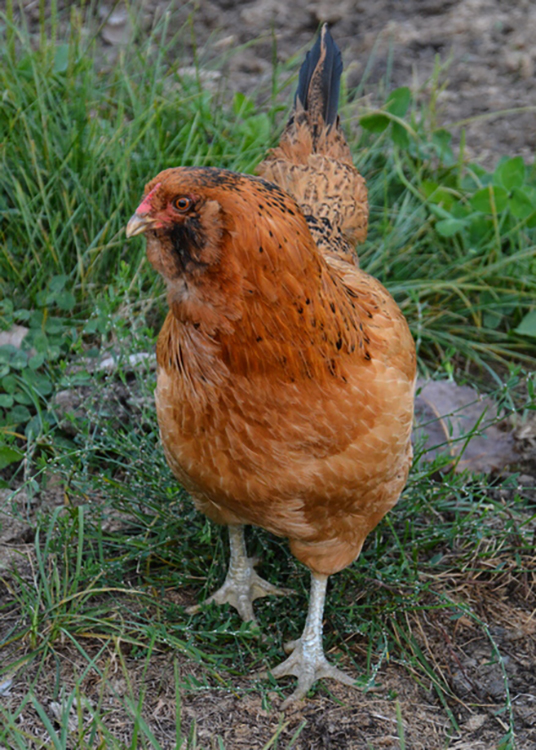
In any case, I’ve felt quite keenly recently the loss of my hens, who were taken by a bobcat a few months ago. I was extremely attached to my chickens, particularly to Brigitta, who was nearly 7 years old and had decided that I would not have chickens again. Every predator wants to eat chickens and keeping them safe as well as happy can be difficult. Well, I have reconsidered that position in light of recent events, because if I still had the girls, they would be producing a half a dozen eggs per day. But we will build them a fortress.
I also decided that now would be a good time to learn how to can goods at home. This way, I could make my own jarred soups and potted meats for the dogs, and I will thereby make myself more self reliant and insulated from hysterical chicken snatchers in Costco.
Canning is the method of preserving food in airtight jars or containers. Although home canned goods should be used within a year, canned goods recovered from the 1800’s have been opened, tested, and found to be safe to eat. Like so many more glamorous cooking methods, canning originated in France and was developed during the early years of the Napoleonic Wars.
Canning is also potentially very dangerous, even fatal, if it is not done properly. Botulism is an illness caused by a toxin produced by the bacterium Clostridium botulinum. Botulism is rare but extremely serious, leading to paralysis of the muscles that typically begins in the face and then spreads towards the limbs. The botulinum toxin is undetectable by sight or scent, and ingesting even a tiny amount is potentially fatal. While I don’t intend this to be alarming, it is important to understand the potential dangers of improper canning so that you do not unintentionally botulate your loved ones. (To botulate is not an actual verb; I just made that up.)
All kidding aside, please read this link from Washington State University about What You Need to Know About Botulism before you begin.
Here is the most important advice in this entire blog. Read the USDA Complete Guide to Home Canning before you start canning. Bookmark that page and safe the pdf’s to your hard drive.
I am going to raise a few practical points in this blog about mistakes that I have made in my first forays into home canning, and yes, there is a recipe at the end of all this rambling. (If you receive my blog via email, you will need to visit the website for the recipe to show up. For reasons I have not had time to investigate, the software I use for the recipes does not include them in the email version.)
Canners
If you are planning to can, you need a stove top pressure canner. Do not use an electric pressure cooker for canning.
The National Center for Home Food Preservation (NCHFP), an offshoot of the United States Department of Agriculture (USDA), has warned consumers against using digital multi-cookers for pressure canning, even over claims by manufacturers that they are safe for canning purposes. The NCHFP specifically states that, “Even if there are referrals to the National Center for HFP in the instructions for canning in the manufacturer’s directions, we do not currently support the use of the USDA canning processes in electric, multi-cooker appliances.”
The risk is botulism, so this is not the place that you want to toe the line.
You can use different canners for high acid versus low acid foods and you can read all about the difference between the two in the USDA Complete Guide to Home Canning. I will not belabor the distinction here. For low acid foods, you will need a pressure canner. Mine is a Presto brand pressure cooker with a dial gauge, but I just purchased a weighted gauge for better accuracy and to avoid the need to have the dial gauge calibrated annually. (I provided those links for your convenience. I am not an Amazon affiliate and I have no pecuniary interest if you purchase one or not.)

Headspace
Headspace is the amount of space in between the bottom of the jar lid and the top surface of the food in the jar. Different recipes call for different headspace and headspace is important. Headspace is one of the key factors in determining whether or not you will get a good vacuum seal on the jar. If you have too little headspace, there is a chance that the seal will break during the canning process and the contents of your jar will leak out into the canner. If the seal is broken, bacteria can potentially invade your canned food, even after it is shelved.
It is possible to end up with too much headspace after processing due to loss of liquid or trapped air in the food within the jar; the starting headspace recommendations take that into account. If you began the process with the correct headspace, you should get a good seal.
A Word on Clarifying Chicken Stock
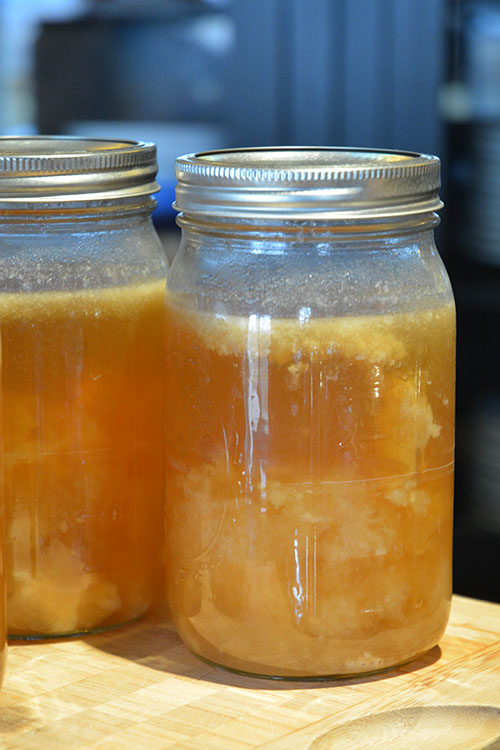
The first time I attempted my own canned chicken stock, I wanted it to be really flavorful, so I simmered it for a day, then cooled it and scraped the fat. Then I simmered it for another day, then cooled it and scraped the fat again. I ended up with a gloriously deep amber stock, full of fragrance. It was, however, cloudy. I strained it through a fine mesh sieve twice, and it was still cloudy. I really wanted my first attempt to be perfect, of course, so I began searching the internet for methods to clarify stock. (You will find lots of them.)
An oft-touted method to clarify stock uses egg whites. In short, you mix an egg white with 1/4 cup of water and mix it into the stock. Return the stock to a boil, remove from heat, and let it cool. What is supposed to happen is that as the egg whites cook, they will coagulate and trap all the solids in the stock. Once the stock is cooled, you strain the stock through cheesecloth and it should filter out all of the egg whites and solids.
I tried this method. It was an epic fail. After canning the stock, my jars were filled with snotty clouds of coagulated egg white solids that
looked the way botulism looks in my imagination.
The moral of this rabbit trail is that if you want to clarify stock, just keep straining it through cheesecloth until it is clear enough to make you happy.
There is Hope . . .
I think canning probably takes some practice to perfect, which was a bit of a surprise to me. I thought that thorough reading would be adequate preparation. That ended up being untrue for me. But I think that with further reading and definitely more practice, this will end up being a very rewarding and useful method that I will continue to use in the future.


Ingredients
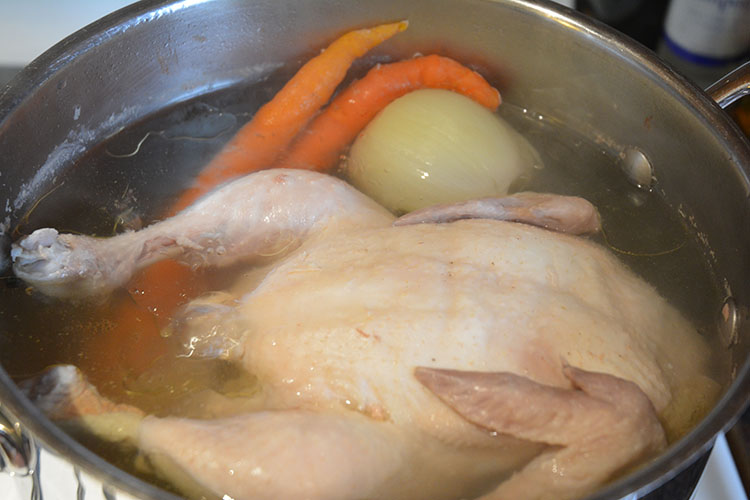
- 1 whole organic chicken
- 5 quarts water
- 1 1" piece of ginger
- 1 large Vidalia or yellow onion
- 2-3 large organic carrots
- 2 bay leaves
- 12-15 whole peppercorns
- 1 tablespoon salt
Instructions
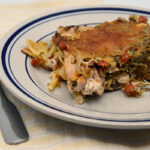
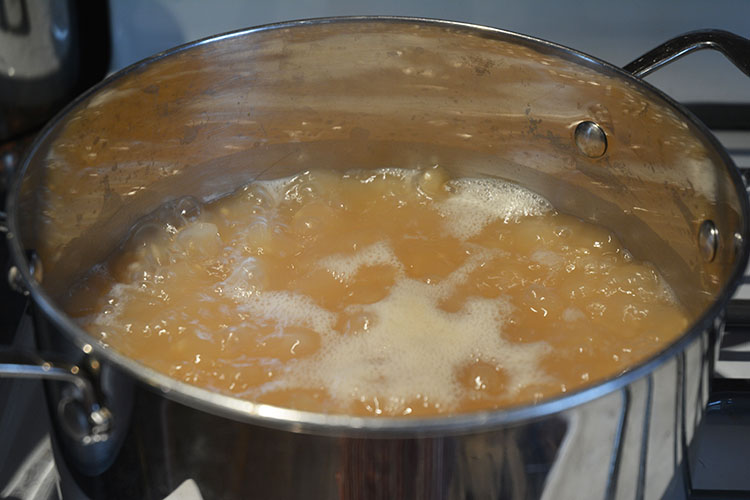
- Place all ingredients in a large stock pot and bring to a rapid boil. Once boiling, reduce heat to low, cover the stock pot, and continue to simmer for a minimum of two hours. When the stock has finished cooking, remove the chicken and reserve it for another use. Strain the remaining stock and allow it to cool to room temperature. Once cooled, refrigerate overnight and then skim the fat. Filter through cheesecloth until desired clarity is reached.
- Can the stock according to the USDA Complete Guide to Home Canning, Guide 5:
- Preparing and Canning Poultry, Red Meats, and Seafoods at Section 5-7.
 PREVIOUS POST
Super Creamy Yogurt in the Instant Pot
March 23, 2020
PREVIOUS POST
Super Creamy Yogurt in the Instant Pot
March 23, 2020